Foam is one of the easiest and most versatile materials for Christmas village displays.
It’s lightweight, easy to cut, budget-friendly, and perfect for creating layers, hills, platforms, and sculpted winter scenery.
With a bit of creativity, foam can help transform your village into a magical snowy wonderland.
Here are 16 detailed DIY foam ideas to inspire your next Christmas village setup.
1. Stacked Foam Hills
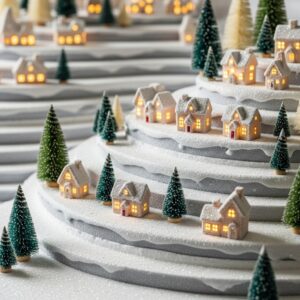
Cut several sheets of Styrofoam or insulation foam into rounded shapes and stack them to form terraced hills.
Carve gentle slopes with a craft knife, then coat the surface in white paint or faux snow.
Place houses and trees on different levels to give your village depth and realism.
2. Foam Board Mountain Backdrop
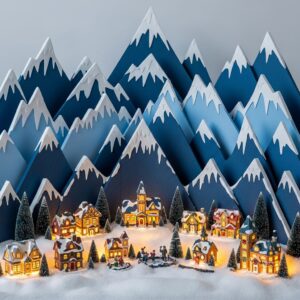
Use foam board to cut tall mountain silhouettes with jagged peaks.
Layer three or four mountains behind each other, using darker shades for the farthest peaks.
Spray lightly with snow flocking for a frosted, wintery finish.
Position behind your village to instantly add height and drama.
3. Carved Foam Snowbanks
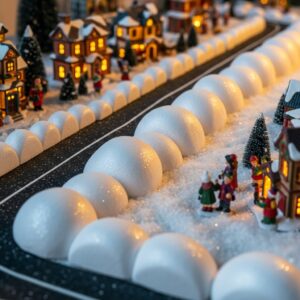
Shape foam blocks with a serrated knife to create curved snowbanks or drifts.
Sand edges gently for a soft, natural look. Paint with white acrylic and sprinkle glitter before it dries.
These snowbanks look beautiful along roadsides, frozen ponds, or village entrances.
4. Foam Ice Skating Pond
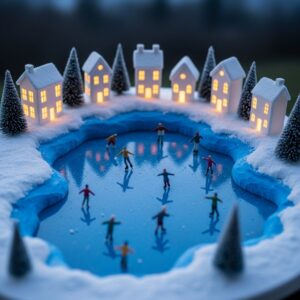
Cut a shallow oval shape into a foam sheet.
Paint the carved area with glossy blue resin or mod podge mixed with blue food dye to create a “frozen” surface.
Scatter snow around the edges, add tiny skaters or benches, and place near the center of your display.
5. Lightweight Foam Platforms
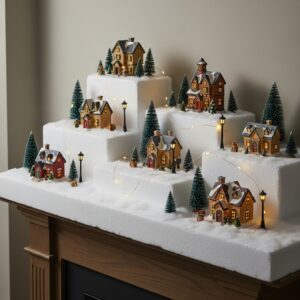
Create a tiered village using foam platforms wrapped in snow blanket or white felt.
The foam keeps the display lightweight yet sturdy.
Place houses on top tiers and trees or figurines on the lower ones to bring visual dimension to smaller spaces like mantels.
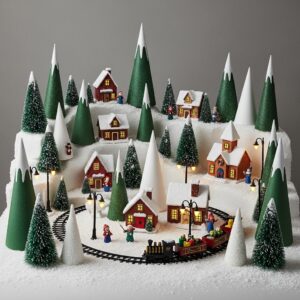
6. Foam Tunnel for Train Tracks
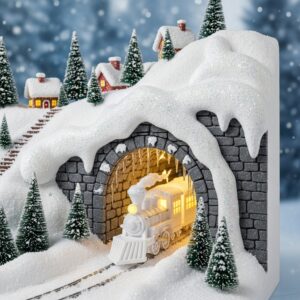
Cut a half-circle archway from a thick foam block to form a snowy train tunnel.
Add stone texture with a craft knife if desired, then coat with white paint and fake snow.
Place your model train track beneath it to give your village a whimsical, storybook feel.
7. Foam Cobblestone Pathway
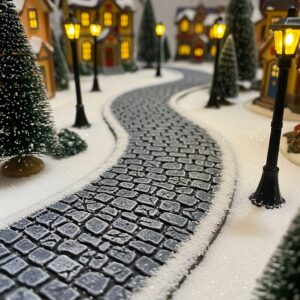
Score a sheet of foam board with a pencil or sculpting tool to create cobblestone patterns.
Paint the stones gray, then brush white paint lightly over the top to mimic snowfall.
Use this pathway to lead viewers through your village scene.
8. Faux Brick Chimneys From Foam Blocks
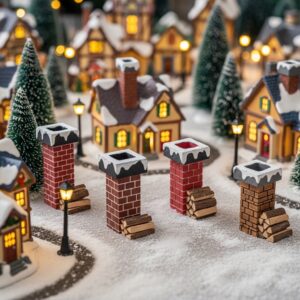
Carve small foam rectangles into chimney shapes.
Etch brick lines with a pencil, then paint in brick tones with snowy tops.
Attach them to existing village houses or position them beside miniature firewood piles for extra character.
9. Foam Snow-Covered Bridge
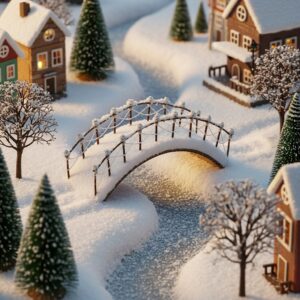
Cut a curved bridge shape from foam board or thick packing foam.
Add railings using popsicle sticks or thin dowels.
Paint everything white or gray, sprinkle faux snow, and place over a foam-carved river or pathway.
10. Foam Ledge Display for Tight Spaces
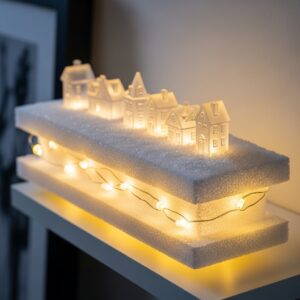
If you have limited room, create a floating foam ledge that attaches to the wall or sits on a narrow shelf.
Wrap it in white felt or snow blanket and arrange tiny houses and trees along it.
LED string lights underneath add a magical glow.
11. Sculpted Foam Trees
Cut triangular tree shapes from foam board or carve cone shapes from Styrofoam.
Paint or flock them with snow.
These foam trees are lightweight, inexpensive, and perfect for filling empty spaces in your village landscape.
12. Foam Snow Cave or Grotto

Carve a cave-like opening in a thick foam block.
Smooth the outer edges so it resembles a snow mound.
Add warm LED lights inside the cave and place it near Santa’s sleigh or woodland animals for a whimsical effect.
13. DIY Foam Stone Walls
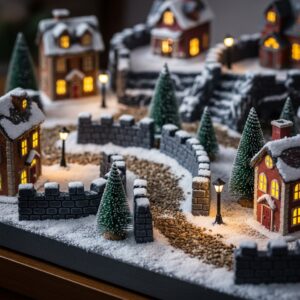
Cut foam strips into brick-sized blocks and paint them gray.
Stack the blocks to form little stone walls around gardens, cottages, or walkways.
Highlight edges with white paint to give the appearance of fresh snow settling on each stone.
14. Foam Stair-Step Display
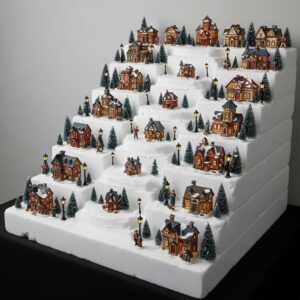
Carve stair-step tiers from a large foam block for an easy multi-level platform.
Wrap the entire structure in white fabric or snow blanket.
Display houses, tiny figures, or lampposts on each step for a well-organized layered look.
15. Foam Village Inside Shadow Box
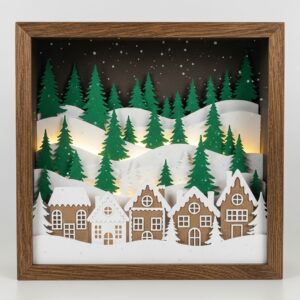
Use thin foam board to create layered scenery inside a shadow box frame.
Cut houses, trees, and hills from foam sheets and place them at different depths.
Add LED lights behind the foam for a glowing 3D winter village effect.
16. Foam Snow Cliff Edge
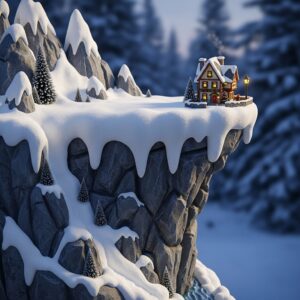
Carve a jagged cliff edge from thick foam, smoothing only the top surface to look like packed snow above a rocky formation.
Paint the sides with gray and white shading.
Place a house or lamppost on top for a dramatic mountain village moment.
Foam is one of the most affordable and flexible materials for building stunning Christmas village displays.
From carved cliffs and snowy hills to glowing shadow box scenes, these 16 DIY foam ideas help bring height, texture, and magic to your holiday décor.