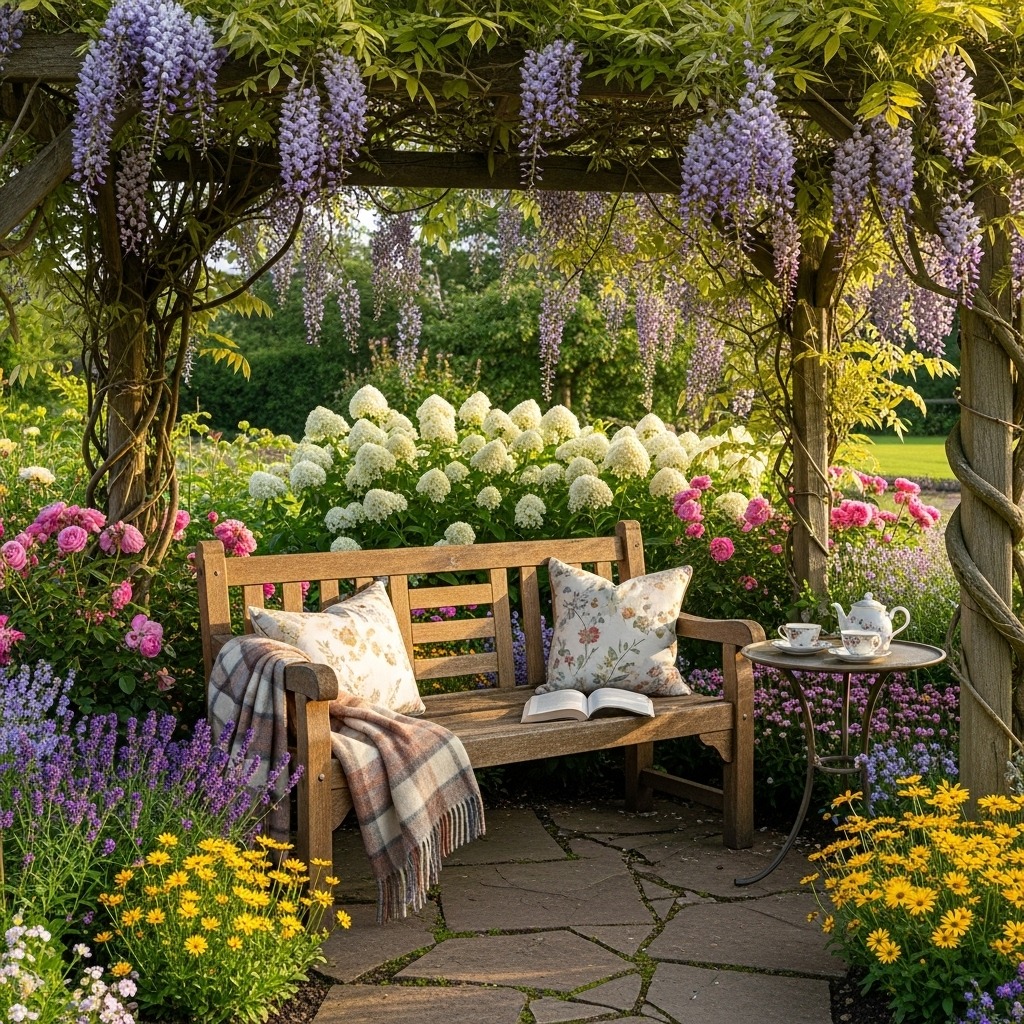
A garden bench is more than just a place to sit—it’s a timeless feature that adds character, comfort, and charm to your outdoor space.
Whether you’re planning to enhance your backyard, patio, or garden corner, building your own garden bench can be an easy and rewarding DIY project.
With the right tools, materials, and a solid plan, you can create a bench that fits your style and space perfectly.
Here’s a detailed guide to help you design and build your own garden bench from scratch.
Planning Your Garden Bench Design
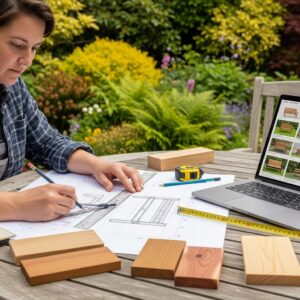
Before you begin building, take time to visualize how your bench will look and where it will sit.
Consider the size of your garden, the number of people you want the bench to accommodate, and the overall style—rustic, modern, traditional, or minimalist.
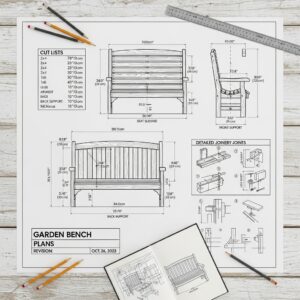
Sketch a simple design or download free garden bench plans online for reference.
Make sure to include measurements, angles, and joint types.
Planning helps you avoid material waste and ensures your bench fits seamlessly into your outdoor layout.
Choosing the Right Materials
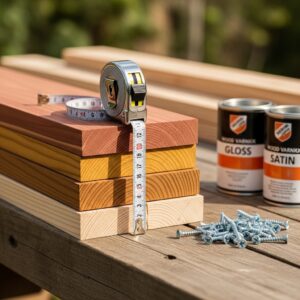
The materials you choose determine the bench’s durability and appearance.
For outdoor benches, hardwoods like cedar, redwood, or teak are ideal because they resist rot and weather damage.
Pine or spruce are budget-friendly alternatives but should be sealed properly to prevent decay.
You can also use metal or concrete for a more industrial look.
If sustainability matters to you, consider using reclaimed wood or eco-friendly composite lumber.
Always check that your materials are suitable for outdoor exposure.
Gathering Tools and Supplies

To bring your garden bench plan to life, you’ll need a few essential tools.
Basic woodworking tools include a saw (hand or circular), a drill, measuring tape, a square, clamps, and sandpaper.
You’ll also need exterior-grade screws or bolts for assembly and outdoor wood glue for added strength.
Having all tools organized before starting helps streamline your workflow and reduces mistakes.
Don’t forget to wear safety gear such as goggles and gloves to protect yourself during the building process.
Cutting and Preparing the Wood
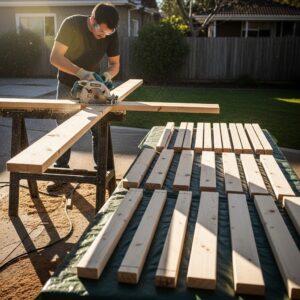
Measure and mark your wood pieces according to your bench plans.
Precision is key—ensure all cuts are straight and consistent to keep your bench sturdy and level.
Sand all edges and surfaces to smooth rough spots and prevent splinters.
If you plan to paint or stain the bench, now is a good time to apply a primer or pre-stain conditioner to help the finish absorb evenly later.
Label each part (legs, seat, supports, backrest) to make assembly easier.
Building the Frame
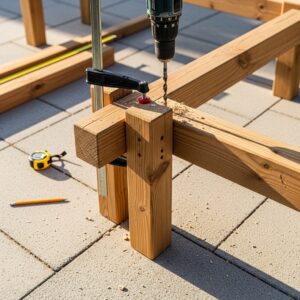
Start by constructing the bench frame, which provides the base support.
Attach the legs to the seat supports using screws or bolts, ensuring they’re square and stable.
Use clamps to hold parts in place while fastening. If your design includes a backrest, secure angled back supports at this stage.
A well-built frame ensures your bench won’t wobble or weaken over time.
Double-check all measurements and alignments before tightening the hardware completely.
Attaching the Seat and Backrest
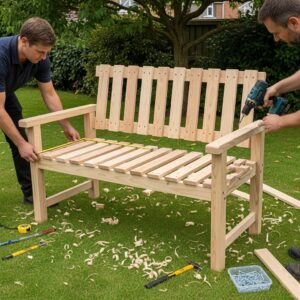
Next, attach the seat slats or solid wood panel to the frame.
Leave small gaps between slats for water drainage if you’re using separate boards.
For benches with a backrest, align it at a comfortable angle (typically 100–110 degrees from the seat).
Screw or bolt the backrest boards securely to the supports.
Reinforce any joints that feel loose, as this step directly affects the bench’s comfort and longevity.
Sanding, Staining, and Finishing
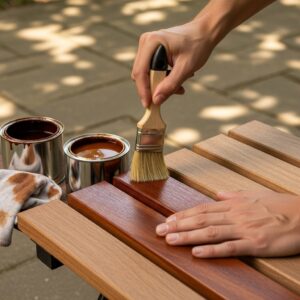
Once your bench is fully assembled, sand the entire surface again with fine-grit sandpaper to smooth any rough edges or corners.
Then, apply an outdoor-grade wood stain or paint to protect the wood from moisture, UV rays, and insects.
Use a weather-resistant sealant or varnish for an extra layer of protection.
Choose colors that match your garden’s aesthetic—natural wood tones for a rustic look, or bright hues for a more playful touch.
Adding Comfort and Style
To make your bench more inviting, add outdoor cushions, throw pillows, or even a small built-in planter on the sides.
You can personalize your bench with decorative carvings, metal accents, or engraved initials.
If you’re building near a garden path or pond, place the bench in a shaded area for a relaxing retreat.
Lighting nearby can enhance its charm for evening relaxation.
Maintenance Tips for Longevity
Even the best-built garden bench needs care.
Clean it regularly with mild soap and water, and reapply sealant or paint every year to maintain its appearance.
Avoid leaving cushions out during rain, and inspect joints periodically for loosening.
In colder climates, consider covering or storing your bench indoors during winter months to prevent cracking or warping.
Benefits of Building Your Own Garden Bench
Building your own garden bench is not only cost-effective but also deeply satisfying.
You have complete control over its size, design, and finish, allowing you to create something truly unique.
It’s a great weekend project that enhances your outdoor living space while improving your woodworking skills.
Every time you sit on it, you’ll appreciate the craftsmanship and effort that went into making it.
FAQs
Q1: How long does it take to build a garden bench?
Most simple garden benches can be built within a day or two, depending on your experience and the design’s complexity.
Q2: What type of wood lasts longest outdoors?
Teak, cedar, and redwood are among the most durable choices due to their natural resistance to moisture and decay.
Q3: Can I build a garden bench without power tools?
Yes, it’s possible with hand tools, but it will take more time and effort. A power drill and saw make the process much easier.
Q4: How much does it cost to build a garden bench?
Costs vary from $50 to $200 depending on wood type, hardware, and finishes used.
Q5: Should I anchor my garden bench to the ground?
If you live in a windy area or want extra stability, anchoring the bench with metal brackets or concrete bases is a good idea.