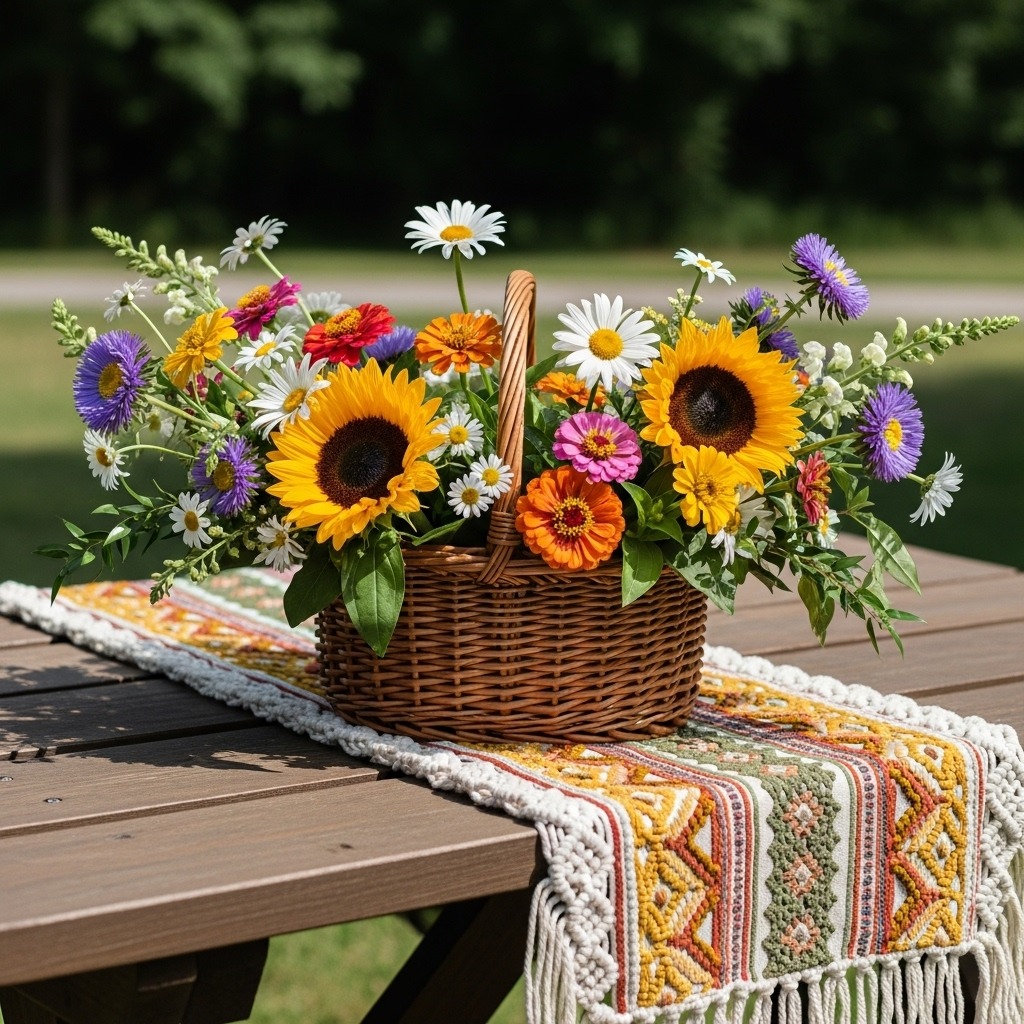
Drying flowers upside down is one of the oldest and most reliable ways to preserve the beauty of your garden blooms.
Whether you’re saving wedding bouquets, wildflowers, or seasonal arrangements, this simple method keeps their natural shape and charm intact.

Below, we’ll walk you through everything you need to know about how to dry flowers upside down—from choosing the right blooms to storing them for long-term enjoyment.
1. Choose the Right Flowers
Not all flowers dry equally well, so it’s important to pick varieties that retain their shape and color when dried.
The best candidates include:
-
Roses
-
Lavender
-
Baby’s breath
-
Strawflowers
-
Hydrangeas
-
Eucalyptus
-
Statice
Tip: Pick flowers that are just about to fully open—not overly mature.
Flowers at their peak will hold their petals better through the drying process.
2. Gather Supplies
You don’t need fancy tools to dry flowers upside down. Here’s what you’ll need:
-
Scissors or pruning shears
-
Twine, string, or rubber bands
-
A clothes hanger or drying rack
-
A dark, dry, and well-ventilated space (like a closet, attic, or spare room)
Optional: Hairspray or floral sealant for added protection once they’re dry.
3. Prepare the Flowers
Before hanging, do a bit of prep work:
-
Remove excess leaves: Strip off any leaves from the lower part of the stems to prevent mold and improve airflow.
-
Trim the stems: Cut each stem to your preferred length, leaving at least 6–8 inches for hanging.
-
Group in small bundles: Gather flowers in small bunches—around 5 to 8 stems per bundle. Tie them together tightly with string or a rubber band (the stems will shrink slightly as they dry).
4. Hang the Flowers Upside Down
Now, the main step—hang your flowers upside down in a dark, dry space. Darkness helps preserve color, while good airflow prevents mold growth.
You can hang them:
-
From a clothes hanger using twine
-
On a drying rack
-
From a beam or rod in a closet
Ensure they’re spaced apart so air can circulate freely around each bunch.
5. Wait for 2–4 Weeks
Patience is key. Most flowers take two to four weeks to dry completely.
You’ll know they’re ready when:
-
The petals feel crisp and papery
-
The stems snap instead of bending
Avoid touching them too much during drying—they’re delicate and can lose petals if handled roughly.
6. Seal and Protect the Dried Flowers
Once fully dried, gently remove them from the hanger and spray lightly with hairspray or a floral sealant.
This helps reduce shedding and adds a protective layer against moisture and dust.
Let the spray dry completely before arranging or displaying.
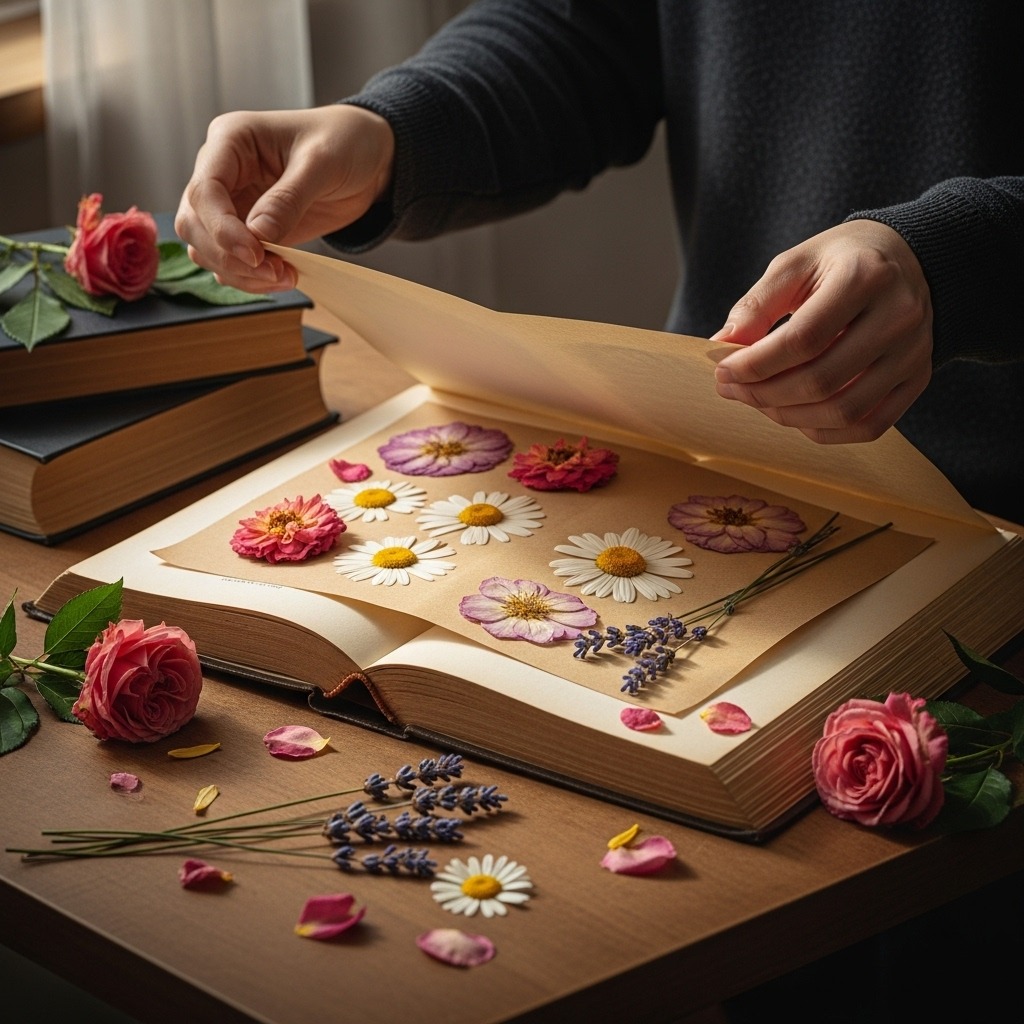
7. Display or Store Your Dried Flowers
Your preserved blooms can now be used in:
-
Dried flower arrangements
-
Wreaths
-
Shadow boxes
-
Resin art
-
Pressed flower crafts
If you’re not using them immediately, store them in a dry box or container away from sunlight and humidity to prevent fading and brittleness.
Extra Tips for Best Results
Avoid kitchens and bathrooms: These rooms are humid, which can cause flowers to mold.
Use silica gel for delicate flowers: If you want faster results or better color retention, combine air drying with silica gel drying.
Mix textures: Combine various flowers and greenery for more interesting dried arrangements.
Drying flowers upside down is an easy, budget-friendly way to preserve your favorite blooms and keep memories alive.
With just a bit of time and patience, you’ll have beautiful, long-lasting dried flowers perfect for decorating your home or crafting meaningful keepsakes.
Whether it’s a sentimental bouquet or your latest garden harvest, this traditional drying method lets nature’s beauty live on—one bloom at a time.